On this page:
Overview
Stanford's VPN allows you to connect to Stanford's network as if you were on campus, making access to restricted services possible. To connect to the VPN from your Windows computer you need to install the Cisco AnyConnect VPN client.
Two types of VPN are available:
- Default Stanford (split-tunnel). When using Stanford's VPN from home, we generally recommend using the Default Stanford split-tunnel VPN. This routes and encrypts all traffic going to Stanford sites and systems through the Stanford network as if you were on campus. All non-Stanford traffic proceeds to its destination directly.
- Full Traffic (non-split-tunnel). This encrypts all internet traffic from your computer but may inadvertently block you from using resources on your local network, such as a networked printer at home. This also allows access to library journals as if you were on campus. If you are traveling or using wi-fi in an untrusted location like a coffee shop or hotel, you may wish to encrypt all of your internet traffic through the Full Traffic non-split-tunnel VPN to provide an additional layer of security.
You can select the type of VPN you want to use each time you connect to the Stanford Public VPN.
Install the VPN client
- Go to su-vpn.stanford.edu to download the Cisco AnyConnect VPN client.
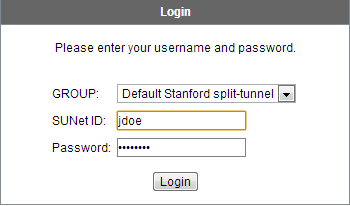
- When the login screen is displayed, select the Group:
- Default Stanford split-tunnel: access to anything at stanford.edu is via the VPN connection but non-Stanford traffic flows normally on an unencrypted internet connection.
- Full traffic non-split-tunnel: all internet traffic flows through the VPN connection.
- Enter your SUNet ID and Password and then click Login. (You can ignore the Group field here; this is set when you connect to the VPN.)
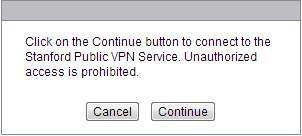
- Click Continue to connect to the Stanford Public VPN service.
- The Cisco AnyConnect VPN client requires a Java or ActiveX plug-in, depending on your browser, to install automatically. If the web-based installation is unsuccessful, click the link provided in the window.
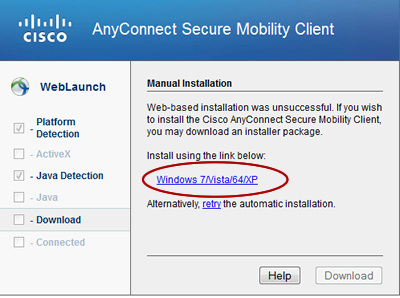
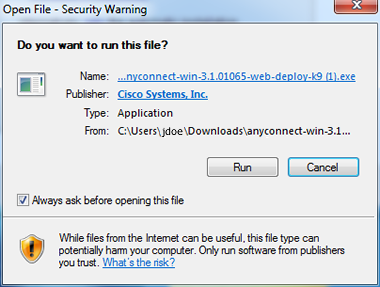
- If you are doing a manual installation, download and run the installer file.
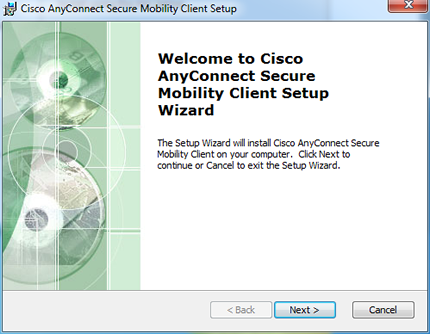
- When the Setup Wizard starts, click Next to continue.
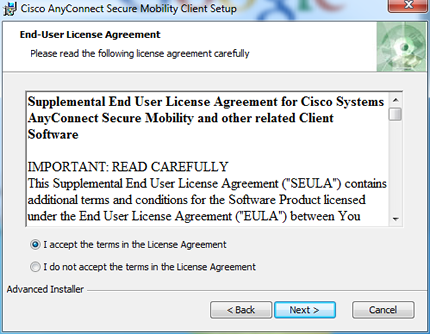
- Accept the terms in the license agreement and click Next.
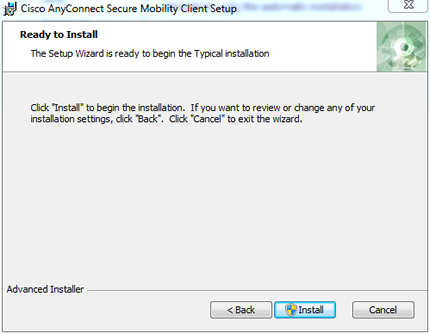
- Click Install to start the installation.
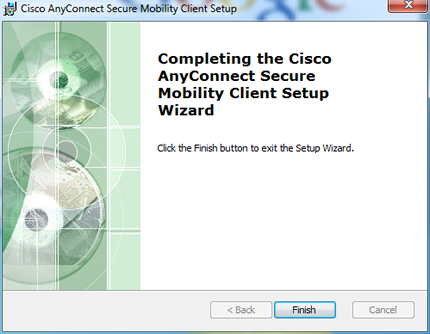
- Click Finish to complete the installation and exit the Setup Wizard.
Connect to the Stanford VPN
- Launch the VPN client:
- Windows 7: Click the Start button. If you don't see Cisco AnyConnect Secure Mobility Client in the list of programs, navigate to All Programs >Cisco > Cisco AnyConnect Secure Mobility Client. Click Cisco AnyConnect Secure Mobility Client.
- Windows 8.1: On the Start screen, click the down arrow in the bottom-left corner of the screen to access your installed apps. Double-click Cisco AnyConnect Secure Mobility Client.
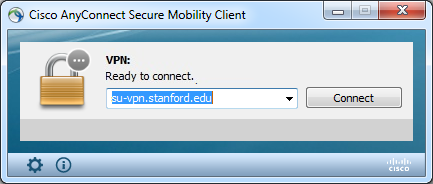
- When prompted for a VPN, enter su-vpn.stanford.edu and then click Connect.
- Enter the following information and then click OK:
- Group: select Default Stanford split- tunnel (non-Stanford traffic flows normally on an unencrypted internet connection) or Full Traffic non-split-tunnel (all internet traffic flows through the VPN connection)
- Username: your SUNet ID
- Password: your SUNet ID password

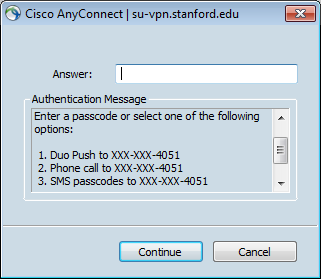
- Next, the prompt for two-step authentication displays.
- Enter a passcode or enter the number that corresponds to another option (in this example, enter 1 to authenticate using Duo Push). You may have to scroll down the list to see all of your options. Then click Continue.
We recommend that you do not select phone call to your smartphone for your second factor. This method has not been consistently reliable during testing. You can, however, use a landline such as your office phone for authentication.
- If your only registered authentication method is printed list, hardware token, or Google Authenticator, the menu does not display. Enter a passcode in the Answer field and click Continue.
- You may see a truncated menu if you have multiple two-step devices enabled. Enter a passcode or choose a second factor from the options provided (in this example, enter push1 to authenticate using Duo Push). Then click Continue.
Note: It may take a bit of trial and error to associate secondary factors with devices.

- Enter a passcode or enter the number that corresponds to another option (in this example, enter 1 to authenticate using Duo Push). You may have to scroll down the list to see all of your options. Then click Continue.
- Click Accept to connect to the Stanford Public VPN service.

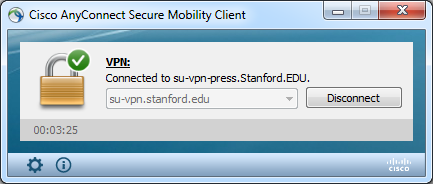
- Once the VPN connection is established, the Cisco Anyconnect icon with a small lock appears in the notification area in the lower-right corner of your screen. (You many need to click the arrow to show hidden icons to see it.)

Disconnect from the Stanford VPN
- In the notification area, click the Cisco AnyConnect icon with a small lock.
- At the prompt, click Disconnect.