Configure Mail
- Launch the Mail app. (Click the icon in the dock or go to the Applications folder to open it.)
- Add a mail account:
- If you have not previously configured an account in Mail you will be prompted to add an account. Click Add Other Mail Account and then click Continue.
- Otherwise, go to the Mail menu and click Accounts. Click Add Other Account > Add a Mail Account and then click Create.
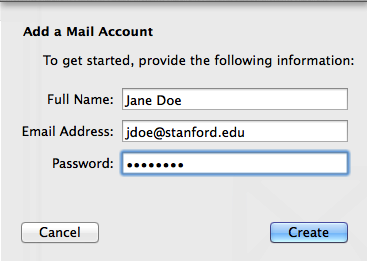
- Enter the following information:
- Full Name: the name you want displayed on your outgoing mail
- Email Address: your @stanford email address
- Password: your SUNet ID password
- A message saying that the account must be manually configured is displayed on the screen. Click Next.

- Enter the following information for the incoming mail server:
- Account Type: IMAP
- Mail Server: your SUNetID.pobox.stanford.edu
- User Name: your SUNet ID
- Password: your SUNet ID password

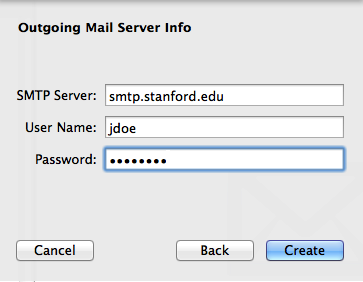
- Enter the following information for the outgoing mail server:
- SMTP Server: smtp.stanford.edu
- User Name: your SUNet ID
- Password: your SUNet ID password
Adjust the configuration
Next you need to go to the Mail preferences to verify and adjust your email settings.
- Launch the Mail app if it is not already open.
- On the Mail menu, click Preferences and then click Accounts on the toolbar. Select your Stanford account and verify the following settings in the Account Information tab:
- Enable this account: checked
- Description: the default is your @stanford email address but you can change it if you wish
- Email Address: your @stanford email address
- Full Name: the name you want displayed on your outgoing mail
- Incoming Mail Server: your SUNetID.pobox.stanford.edu
- User Name: your SUNet ID
- Password: your SUNet ID password

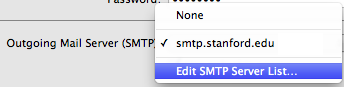
- Click the drop down list for Outgoing Mail Server (SMTP) and choose Edit SMTP Server List
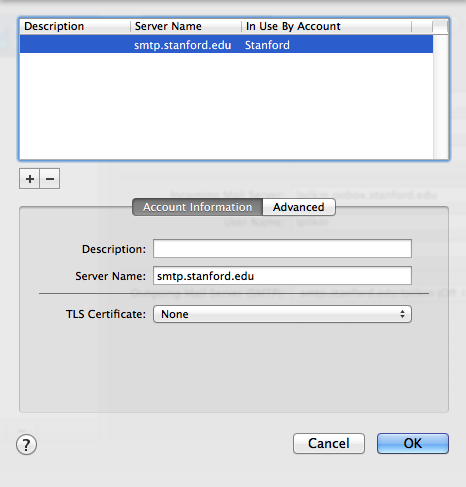
- In the outgoing server list window, select the entry for smtp.stanford.edu and verify the following is entered under the Account Information tab:
- Server Name: smtp.stanford.edu
- Server Name: smtp.stanford.edu
- Click the Advanced tab and verify the following settings:
- Use custom port: 465
- Use Secure Sockets Layer (SSL): checked
- Authentication: Password
- User Name: your SUNet ID
- Password: your SUNet ID password
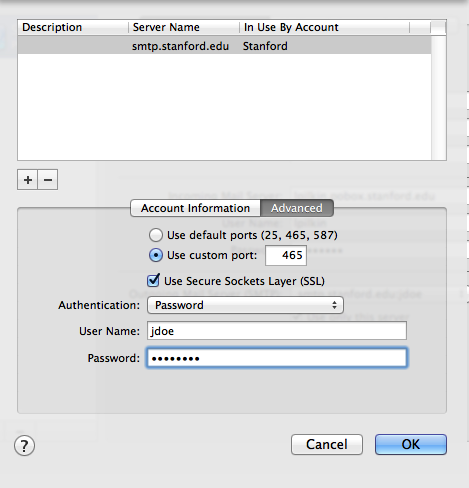
- Click OK to close the outgoing server list window.
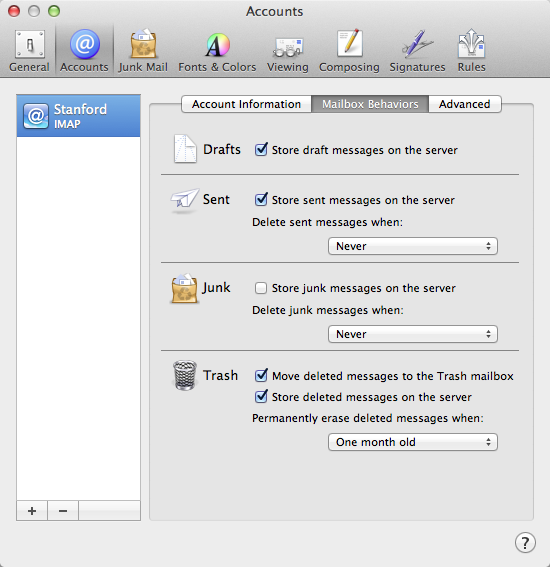
- Click the Mailbox Behaviors tab. The following settings are recommended, but are not required:
- Store draft messages on the server: checked
- Store sent messages on the server: checked
- Store junk messages on the server: unchecked
- Move deleted messages to the Trash mailbox: checked
- Store deleted messages on the server: checked
- Click the Advanced tab and verify the following settings:
- Include when automatically checking for new mail: checked
- Automatically download all attachments: checked
- IMAP Path Prefix: blank
- Port: 993
- Use SSL: checked
- Authentication: Password
- Use IDLE command if the server supports it: checked

- Close the Preferences window.
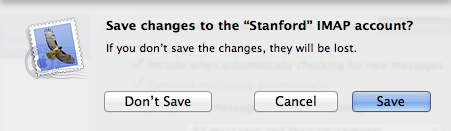
- If prompted to save your changes, click Save.
Set special folders on the server
To maximize the benefits of using IMAP, you'll want to set Mail to use IMAP folders to store sent messages and trash. These instructions walk you through this process for the Sent folder. The process can then be repeated for Trash. (If your mailboxes are not displayed, click the Show/Hide button in the upper-left area of the window.)
- In your list of mailboxes, under your Stanford mail, scroll down to the Sent mailbox and select it.
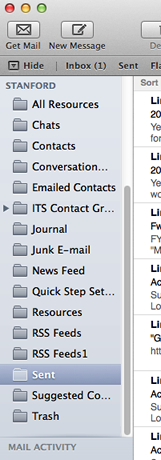
- In the Mailbox menu select Use This Mailbox As > Sent Mailbox.

- Mail now displays your sent messages within its Sent section.
Additional information and configuration
- To set up Apple Mail to work with Stanford's spam tagging system, see Creating a Spam Filter in Apple Mail.
- See Configuring Apple Mail for Directory Access for instructions on how to address a message with the query results from the Stanford directory. These searches access the same information that is available from the StanfordWho website.