You can configure Microsoft Outlook 2010 or Outlook 2013 to access your Office 365 account by setting up an Exchange connection. An Exchange connection provides access your email, calendar, contacts, and tasks in Outlook.
You can also set up Outlook to access your email by using IMAP. However, if you use IMAP you can only access your email from Outlook, not your calendar, contacts, and tasks.
Get Outlook for Windows
Faculty and staff with full-service SUNet IDs can download Outlook for Mac on university-owned computers for free. See Microsoft Office for Windows for more information.
If Outlook was previously configured
If you already have an IMAP or POP account set up for your Stanford email you can modify it to connect to your Exchange account. This allows you to retain many of the settings you already have.
- Windows 8.1: From the Desktop (not Metro), right-click the Start button and click Control Panel.
Windows 7: Right-click the Start button and click Control Panel. - In the large or small icon view, double-click the Mail [or Mail (32-bit)] icon.

- In the Mail Setup dialog box, click Show Profiles.

- Select you current Outlook account and then click Properties.

- In the Mail Setup dialog box, click E-mail Accounts.

- In the Account Settings dialog box, with the E-mail tab selected, click New.

- When prompted to choose a service, select E-mail Account and then click Next.

- The Auto Account Setup wizard opens. Enter your name, email address, and SUNet ID password. Then, click Next.

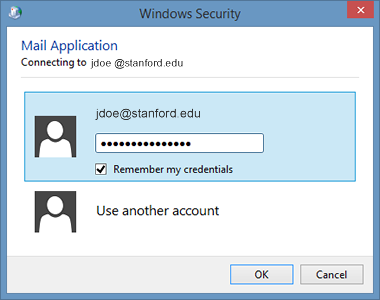
- If you are prompted to log in, enter your SUNet ID password and click OK.
- Outlook will complete the setup for your account, which might take several minutes. When you are notified that your account was successfully configured, click Finish.

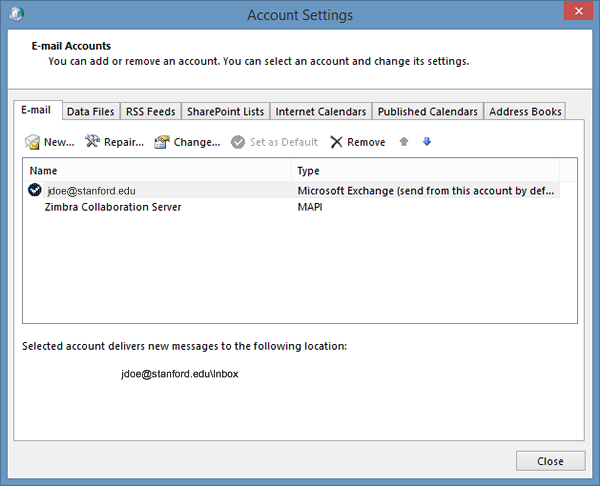
- In the Account Settings dialog box, select your Microsoft Exchange account and click Set as Default and then select your old account and click Remove.
- If a warning message displays, click Yes to continue.

- Close the Account Settings dialog box and the Mail Setup dialog box.
- Click OK to close the Mail profiles dialog box.
- Open Outlook. Your Inbox starts to populate.
Change offline access setting
You can use Outlook on your laptop or desktop computer when you’re not connected to the Internet. Email, calendar, and other items are kept in an Outlook data file on your computer so you can work offline. You can set the duration of this setting to 1, 3, 6, 12, or 24 months, or All.
- In Outlook, click the File menu.
- Click Account Settings > Account Settings.
- In the Account Settings dialog box, with the E-mail tab selected, click Change.
- In the Offline Settings section, move the slider to select how long you want to keep mail on your computer for offline access. You can choose 1, 3, 6, 12, 24 months or ALL. Then click Next.
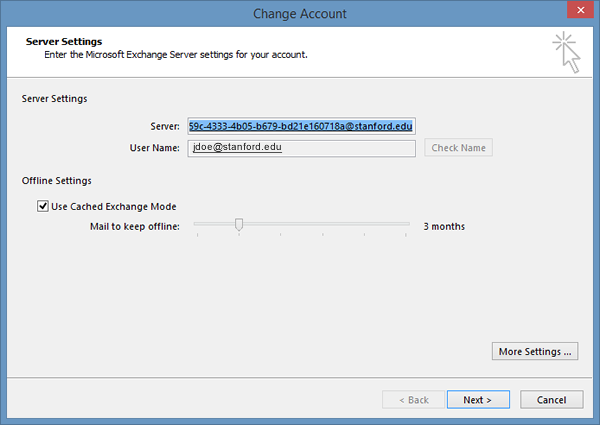
- Click Finish.
Configure Outlook for the first time
- Open Outlook.
- At the Welcome screen, click Next.
- When asked if you want to set up Outlook to connect to an email account, select Yes and then click Next.
- The Auto Account Setup wizard opens. Enter your name, email address and SUNet ID password. Then, click Next.
- Outlook will complete the setup for your account, which might take several minutes. When you are notified that your account was successfully configured, click Finish.