On this page:
The printed list option for two-step authentication is not recommended. It is less convenient than other methods. In addition, it will be phased out later in 2015.
The printed list option generates a list of two-step authentication codes that you should carry with you. Each code can be used only once. The last code on the list should be saved to generate a fresh list with a new set of authentication codes.
Setup
- Open a browser and visit the Stanford Accounts Application.
- Click Manage.
- Click the Two-Step Auth tab.
- If this is the first time you are setting up your two-step authentication, click Enable.
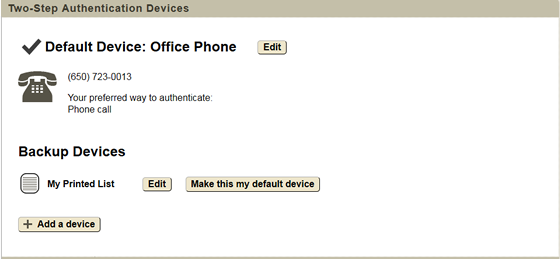
If you already have a device set up, a page showing your two-step authentication devices displays. Click Add a device. - On the Set up a new device page, click Printed List.
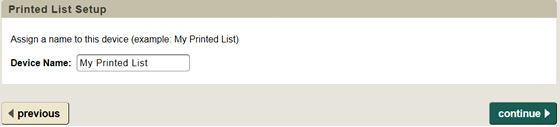
Note: You are not allowed to maintain more than one printed list. You will not see a printed list option if you already have one. To generate a new list of passcodes (replacing your existing list), see the instructions for list renewal, below. - Assign a device name to the printed list and then click or tap continue.
- A list with 18 authentication codes is displayed. Click the Print button below this list (make sure to print your list as soon as possible).

- When the Print dialog box displays, print the list and retrieve your printout. Then, click continue.
- Next you are prompted to choose whether or not to make your printed list your default device.

- A confirmation that you have successfully set up a printed list for two-step authentication displays. Click Done to exit. You are encouraged to add more backup devices to ensure you are never locked out of your account.
Note: You no longer need to enter a verification code when setting up a new list.

Be sure to store the printed list somewhere safe but convenient, such as in your wallet or purse. You will need it to log in to certain restricted Stanford sites.
Authenticate
When you are prompted by WebAuth to enter an authentication code for two-step authentication, find the next unused code on your Printed List and enter it.
- Enter codes in the exact order in which they appear on the list.
- Each authentication code can be used only once.
- It's a good idea to cross an authentication code off the list once it has been used.
List renewal
Before you use up the first set of authentication codes, you will need to create and print a new list. Be sure to reserve one of the last few authentication codes for this purpose. Note: if you have set your two-step authentication challenge level to Always, you will need to save an additional code to log in to the Stanford Accounts Application.
- Go to accounts.stanford.edu.
- Click Manage.
- Click the Two-Step Auth tab.
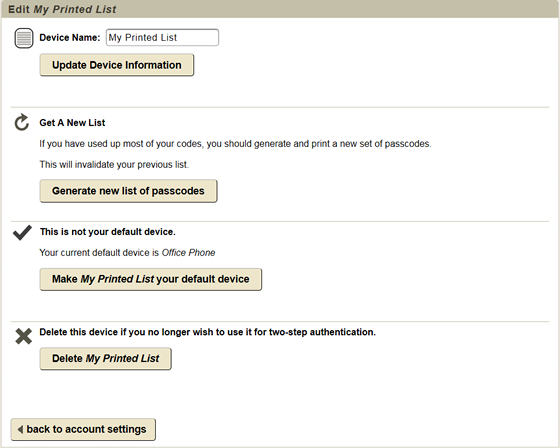
- In the list of authentication devices you have set up, located your printed list and click Edit.
- On the edit printed list screen, click Generate new list of passcodes.
- A new list of printed list passcodes displays. Click print.
- After the list is printed, click back to account settings to exit.
Lost list
If you lose your list of codes, you can generate a one-time two-step authentication code. See Lost or Forgotten Authentication Device for more information. You can also contact the Stanford IT Service Desk at 650-725-4357 or via HelpSU.