Installing Adium
Adium is a free instant messaging application for Mac OS X.
- Direct your web browser to adium.im and click the Download Adium link.
- If the Adium window is not open, double-click the Adium disk image on your desktop or double-click the Adium .dmg file in your Downloads folder.
- Drag the Adium duck icon into the Applications folder.
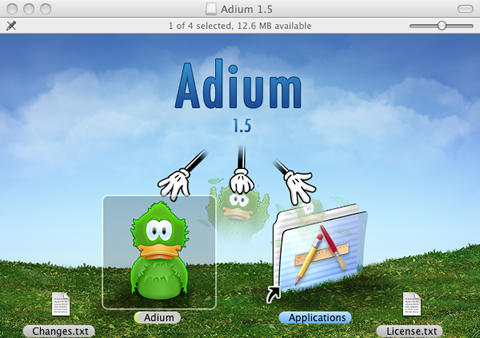
- Open the Applications folder and double-click Adium.
- When the Adium Setup Assistant window is displayed, click Continue.

- In the Add an Instant Messaging Account window, enter the following information:
- Service: XMPP
- Jabber ID: your SUNet ID@stanford.edu
- Password: leave blank

- Click Continue.
- If you are prompted to enter your account password, click Cancel.
- Click Done in the Adium Setup Assistant.

Configuring Adium for your SUNet ID
- In the Adium menu, click Preferences.
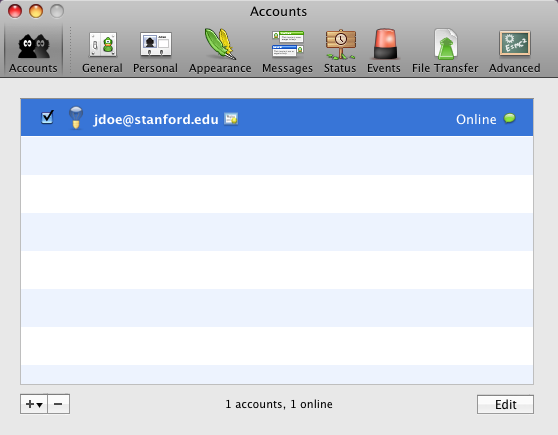
- Click Accounts to display the Accounts window.
- If you are configuring Adium for the first time, select your user name and then click Edit.
- If you are configuring an existing Adium client, click the + in the lower-left corner and select XMPP.
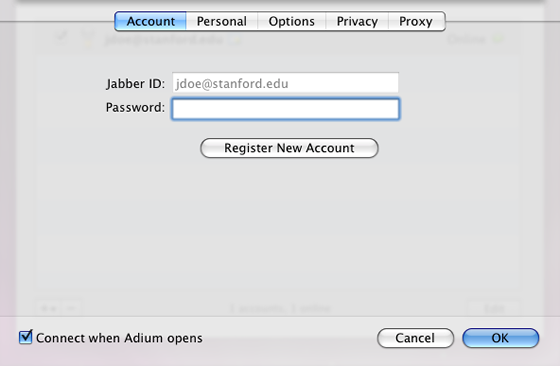
- The contents of the Account tab will be displayed.
- If you are configuring Adium for the first time, your SUNetID@stanford.edu address is entered in the Jabber ID field by default.
- If you are configuring an existing Adium client, in the Jabber ID field, enter your SUNetID@stanford.edu address (do not use an alias).
- Click the Options tab and enter the following:
- Connect Server: leave blank
- BOSH Server: leave blank
- File Transfer Proxies: accept the default
- Resource: defaults to your Mac's computer name
- Port: 5222
- Available Priority: leave blank
- Away Priority: leave blank
- Mail option: unchecked (should be grayed out)
- Emoticons: checked or unchecked as you prefer
- Security: Allow plaintext authentication: unchecked
- Security: Force old-style SSL/TLS: unchecked
- Security: Require SSL/TLS: checked
- Security: Do strict certificate checks: unchecked
- Presence Subscriptions: Ask What to Do
- Connect when Adium opens: checked or unchecked as you prefer

- Click the Privacy tab. Set Encryption to Encrypt chats as requested.

- Click OK.
Disabling message logging
By default, Adium logs all chat sessions in a file on your computer. If your chat sessions contain anything other than unrestricted information, you should change your preferences to not log data. See the Risk Classifications for more information about data types.
To disable message logging:
- In the Adium menu, click Preferences.
- Click General to display the general preference options.
- In the Messages section, remove the check from the Log messages box.

- Close the dialog box.