On this page:
Installing Pidgin
Pidgin is an easy-to-use, free chat client for Windows.
- Go to www.pidgin.im.
- Download and run the Pidgin installer file.
- When the Welcome to the Pidgin Setup Wizard page is displayed, click Next.

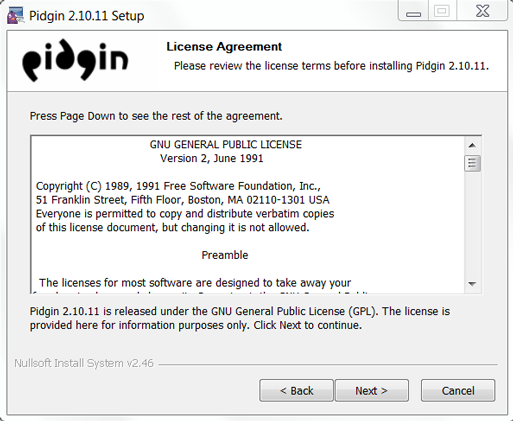
- Review the License Agreement and click Next.
- To select the default features of Pidgin, click Next.

- Click Install to install Pidgin in the default location. If you want to install Pidgin in a different folder, click Browse, select a different folder, and then click Install.

- When the program has finished installing, the Installation Complete page is displayed. Click Next.

- Click Finish.

Configuring Pidgin
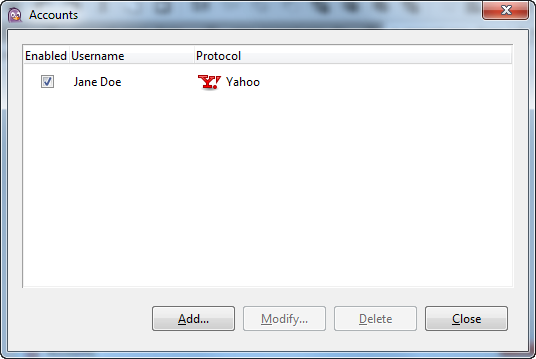
- The first time you launch Pidgin, the Accounts dialog box is displayed. Click Add.

If Pidgin is not open or you are configuring an existing Pidgin client, click Start, click Programs, and click Pidgin. The Buddy List window will open. Go to the Accounts menu and click Manage Accounts. In the Accounts dialog box, click Add.
- The Add Account dialog box is displayed. With the Basic tab selected, enter the following information:
Login Options
- Protocol: XMPP
- Username: your SUNet ID
- Domain: stanford.edu
- Resource: blank
- Password: blank
- Remember password: unchecked
User Options
- Local alias: user preference
- New mail notifications: unchecked
- Use this buddy icon for this account: user preference

- Click the Advanced tab and enter the following information:
- Connection security: Use encryption if available
- Allow plaintext auth over unencrypted streams: unchecked
- Connect port: 5222
- Connect server: leave blank
(Note: If you have any issues with configuring Pidgin the first time, try configuring a second time and put "stanford.edu" in the space for the connect server instead of leaving it blank. If you receive a pop-up asking you to accept the certificate for stanford.edu, click Accept.) - File transfer proxies: proxy.eu.jabber.org
- BOSH URL: leave blank
- Show Custom Smileys: checked

- Click the Proxy tab and enter the following information:
- Proxy Type: Use Global Proxy Settings
- Create this account on the server: unchecked

- Click Add.
- Click Close.

Disabling message logging
By default, Pidgin logs all chat sessions in a file on your computer. If your chat sessions contain non-public data, the log file must be encrypted. See the Encryption at Stanford website to learn more. Alternatively, you can change your preferences to not log data.
To disable message logging:
- From the Buddy List window, go to the Tools menu and click Preferences.
- In the Preferences dialog box, click the Logging tab. Remove the checks from the Log all instant messages and Log all chats boxes.
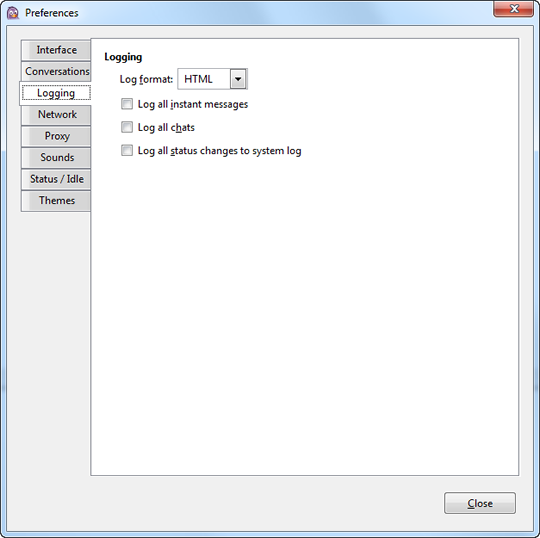
- Click Close.